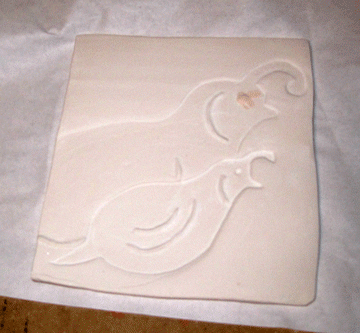
 Once you’ve mastered the art of making your own texture tiles, you can bump things up by adding frits and powders to your design. Armstrong Glass makes a line of float glass compatible frits and powders called Float Fire that work very well with recycled glass.
Start with your frits:
 Here I have Deer Brown, Amber and Bright Black. Make sure you follow the safety guidelines on the Float Fire packaging. You’ll also need a texture tile (make sure you kiln wash it!):
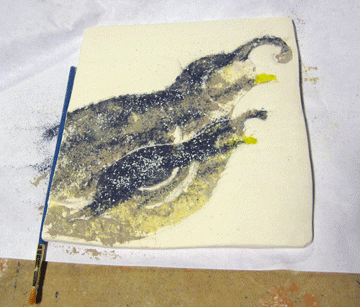
 You’ll need to decide at the start if you will be viewing the final project from through the capping glass, or if you will be flipping it over to view the frit side as the finished side. This will affect how you ‘build’ the frit on the tile. I will be viewing THROUGH the capping glass. So, I’ll build my design from the background to the details.
First, the amber for the chests and bellies. I’m using a fairly loose hand, but you could use a powder sifter and get very fine detail if that’s the way you roll.
Next will be the deer brown and black for the wing and neck feathers. I also cheated and added some yellow for beaks. Artistic allowance is definitely allowed!
 Now, clean up around the edges of the design with a small soft brush so the back ground of the tile is nice and clean.
 Now cut a piece of clear capping glass from your handy stash of recycled window glass.
 And fire to a full fuse:
- frit and powder colors get much more vibrant after firing. If you aren’t sure of your final colors, do a reference firing test!
- frits and powders lose a lot of volume, it may seem like you are really piling it on, but the final result may not be as thick as you expected.
- practice! This is all an experiment, remember? Roll with it and have fun. I do new things an average of 15-16 times before I’m satisfied with the result, hopefully you all learn more quickly than I do!

